Check that your Organisation allows OneDrive sharing
This guide covers the v1 version of Q-Play. We recommend switching to v2 when you can, as that's the version we're actively developing and supporting going forward. See our guide on migrating from v1 to v2 to get started.
In this guide, you can read how to make sure your organisation allows you to add OneDrive documents to your Q-Play solution.
If you want to add private OneDrive documents in Q-Play this is always allowed.
If you want to add private OneDrive documents in Q-Play this is always allowed.
In this link: Manage Sharing Settings, you can read Microsoft's guide on how to change your sharing settings in the company, if necessary.
Open the document you want to add to you Q-play infoscreen design.
1. Log in on OneDrive in a browser. Find and open the document. It is important that you do this in a webbrowser.
2. Go to "File"
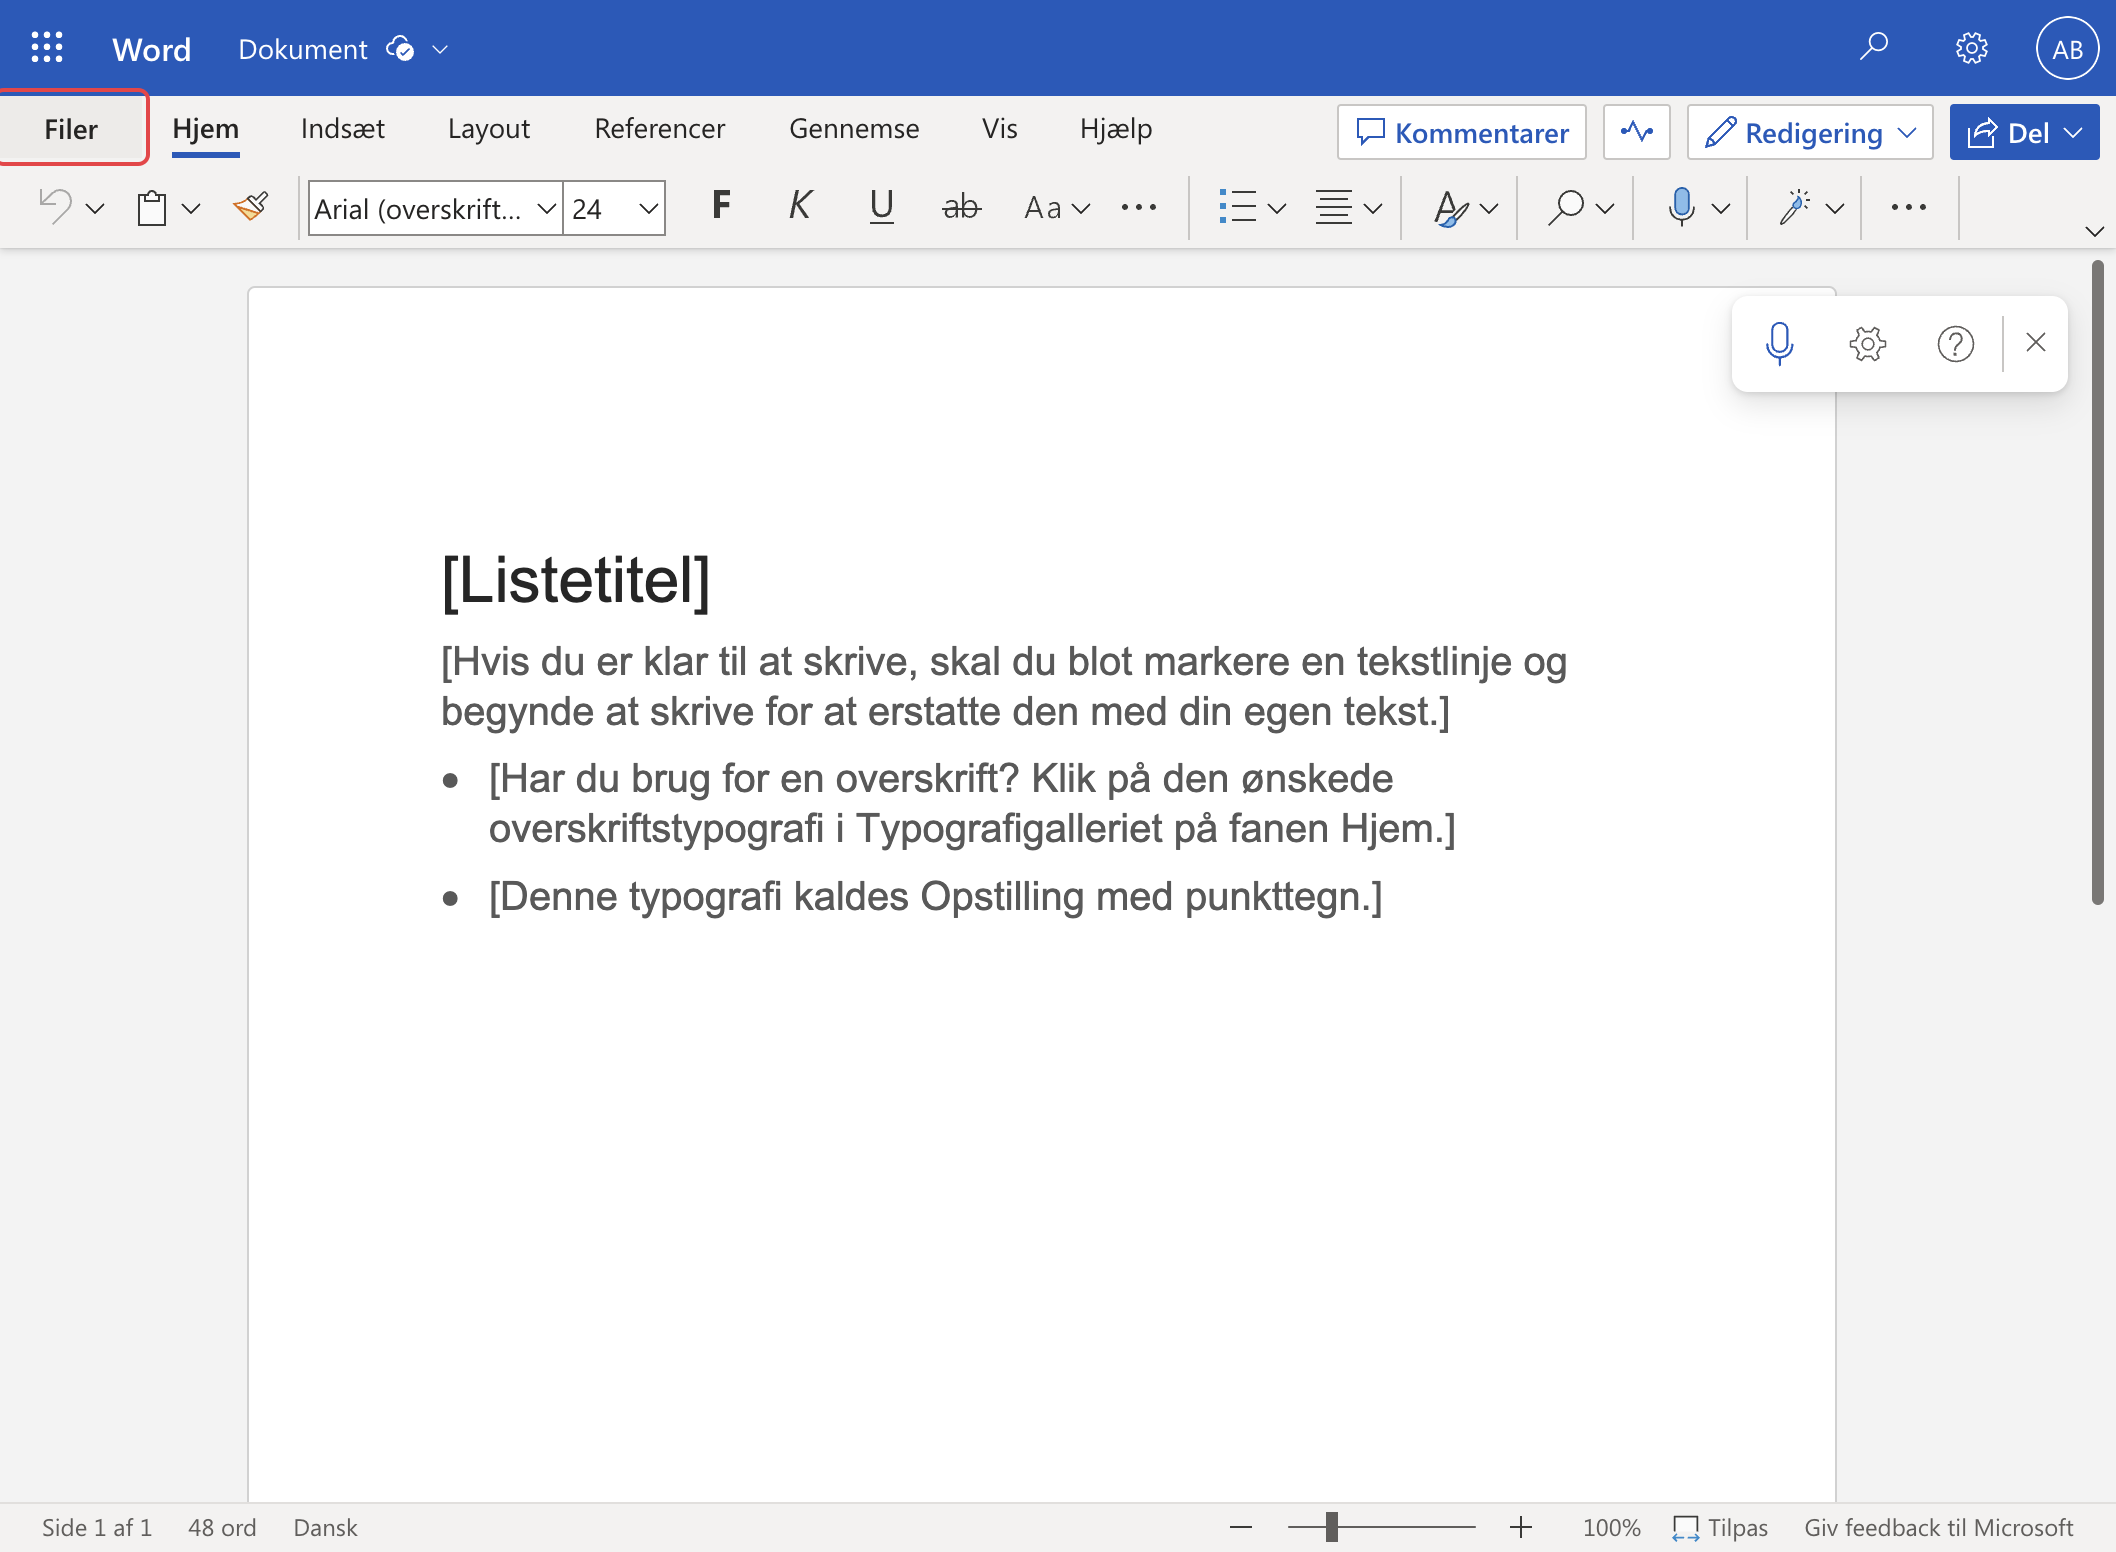
3. Click on "Share"
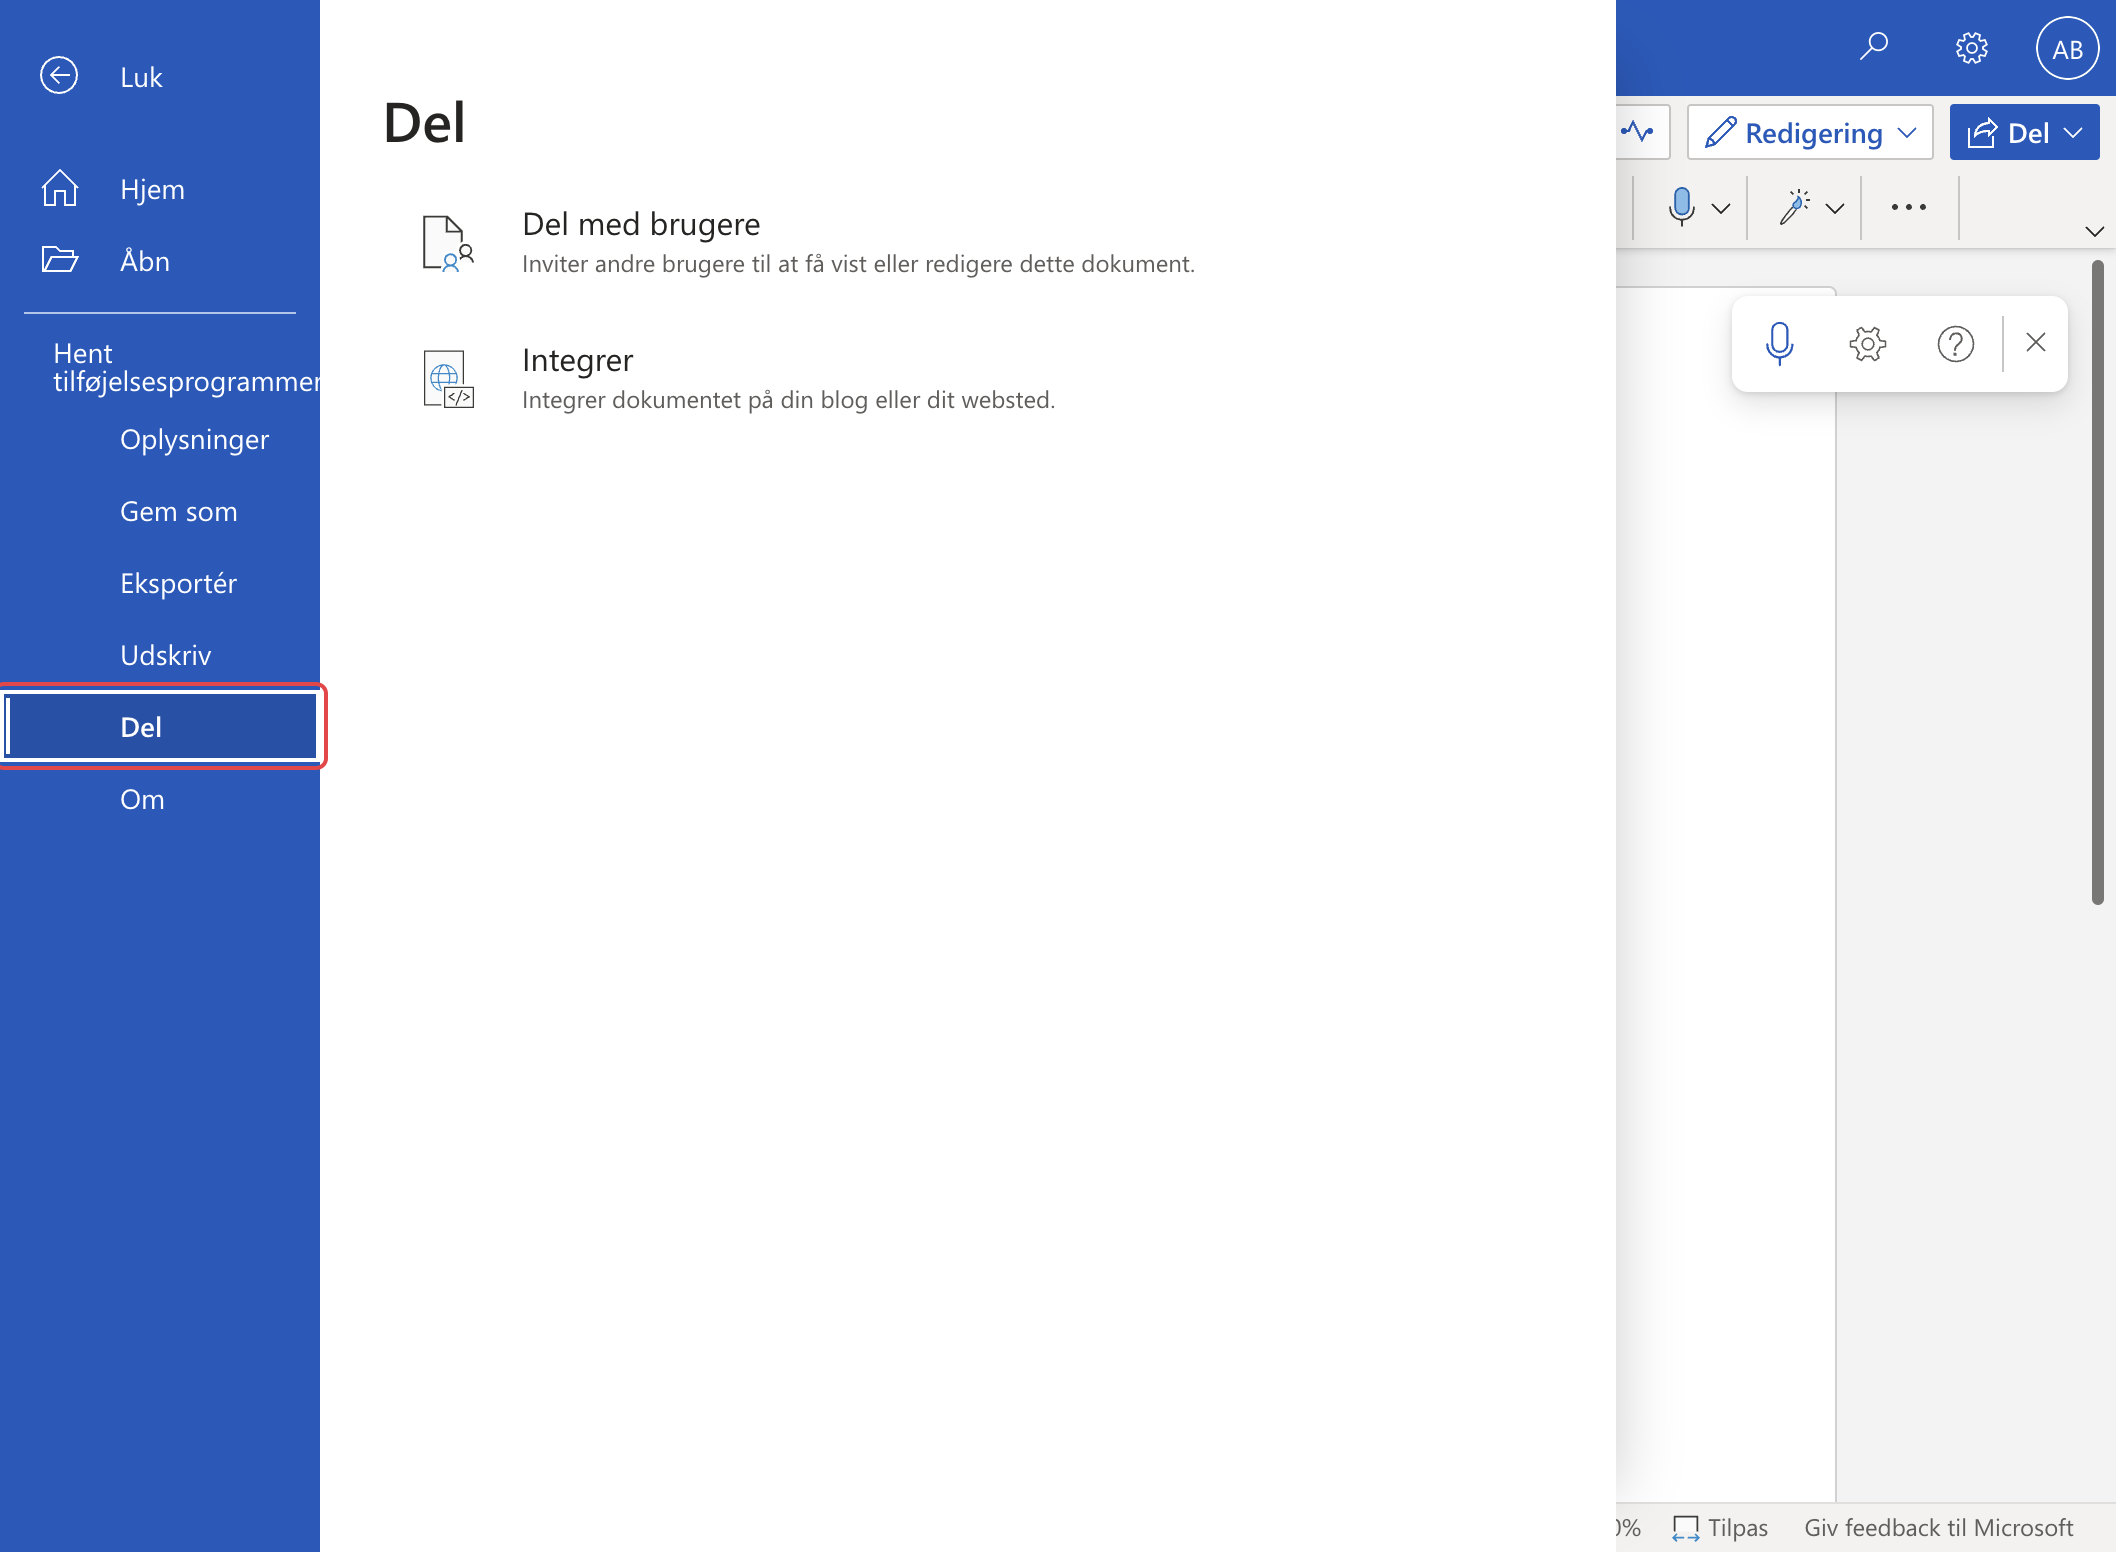
4. Choose "Share with users".
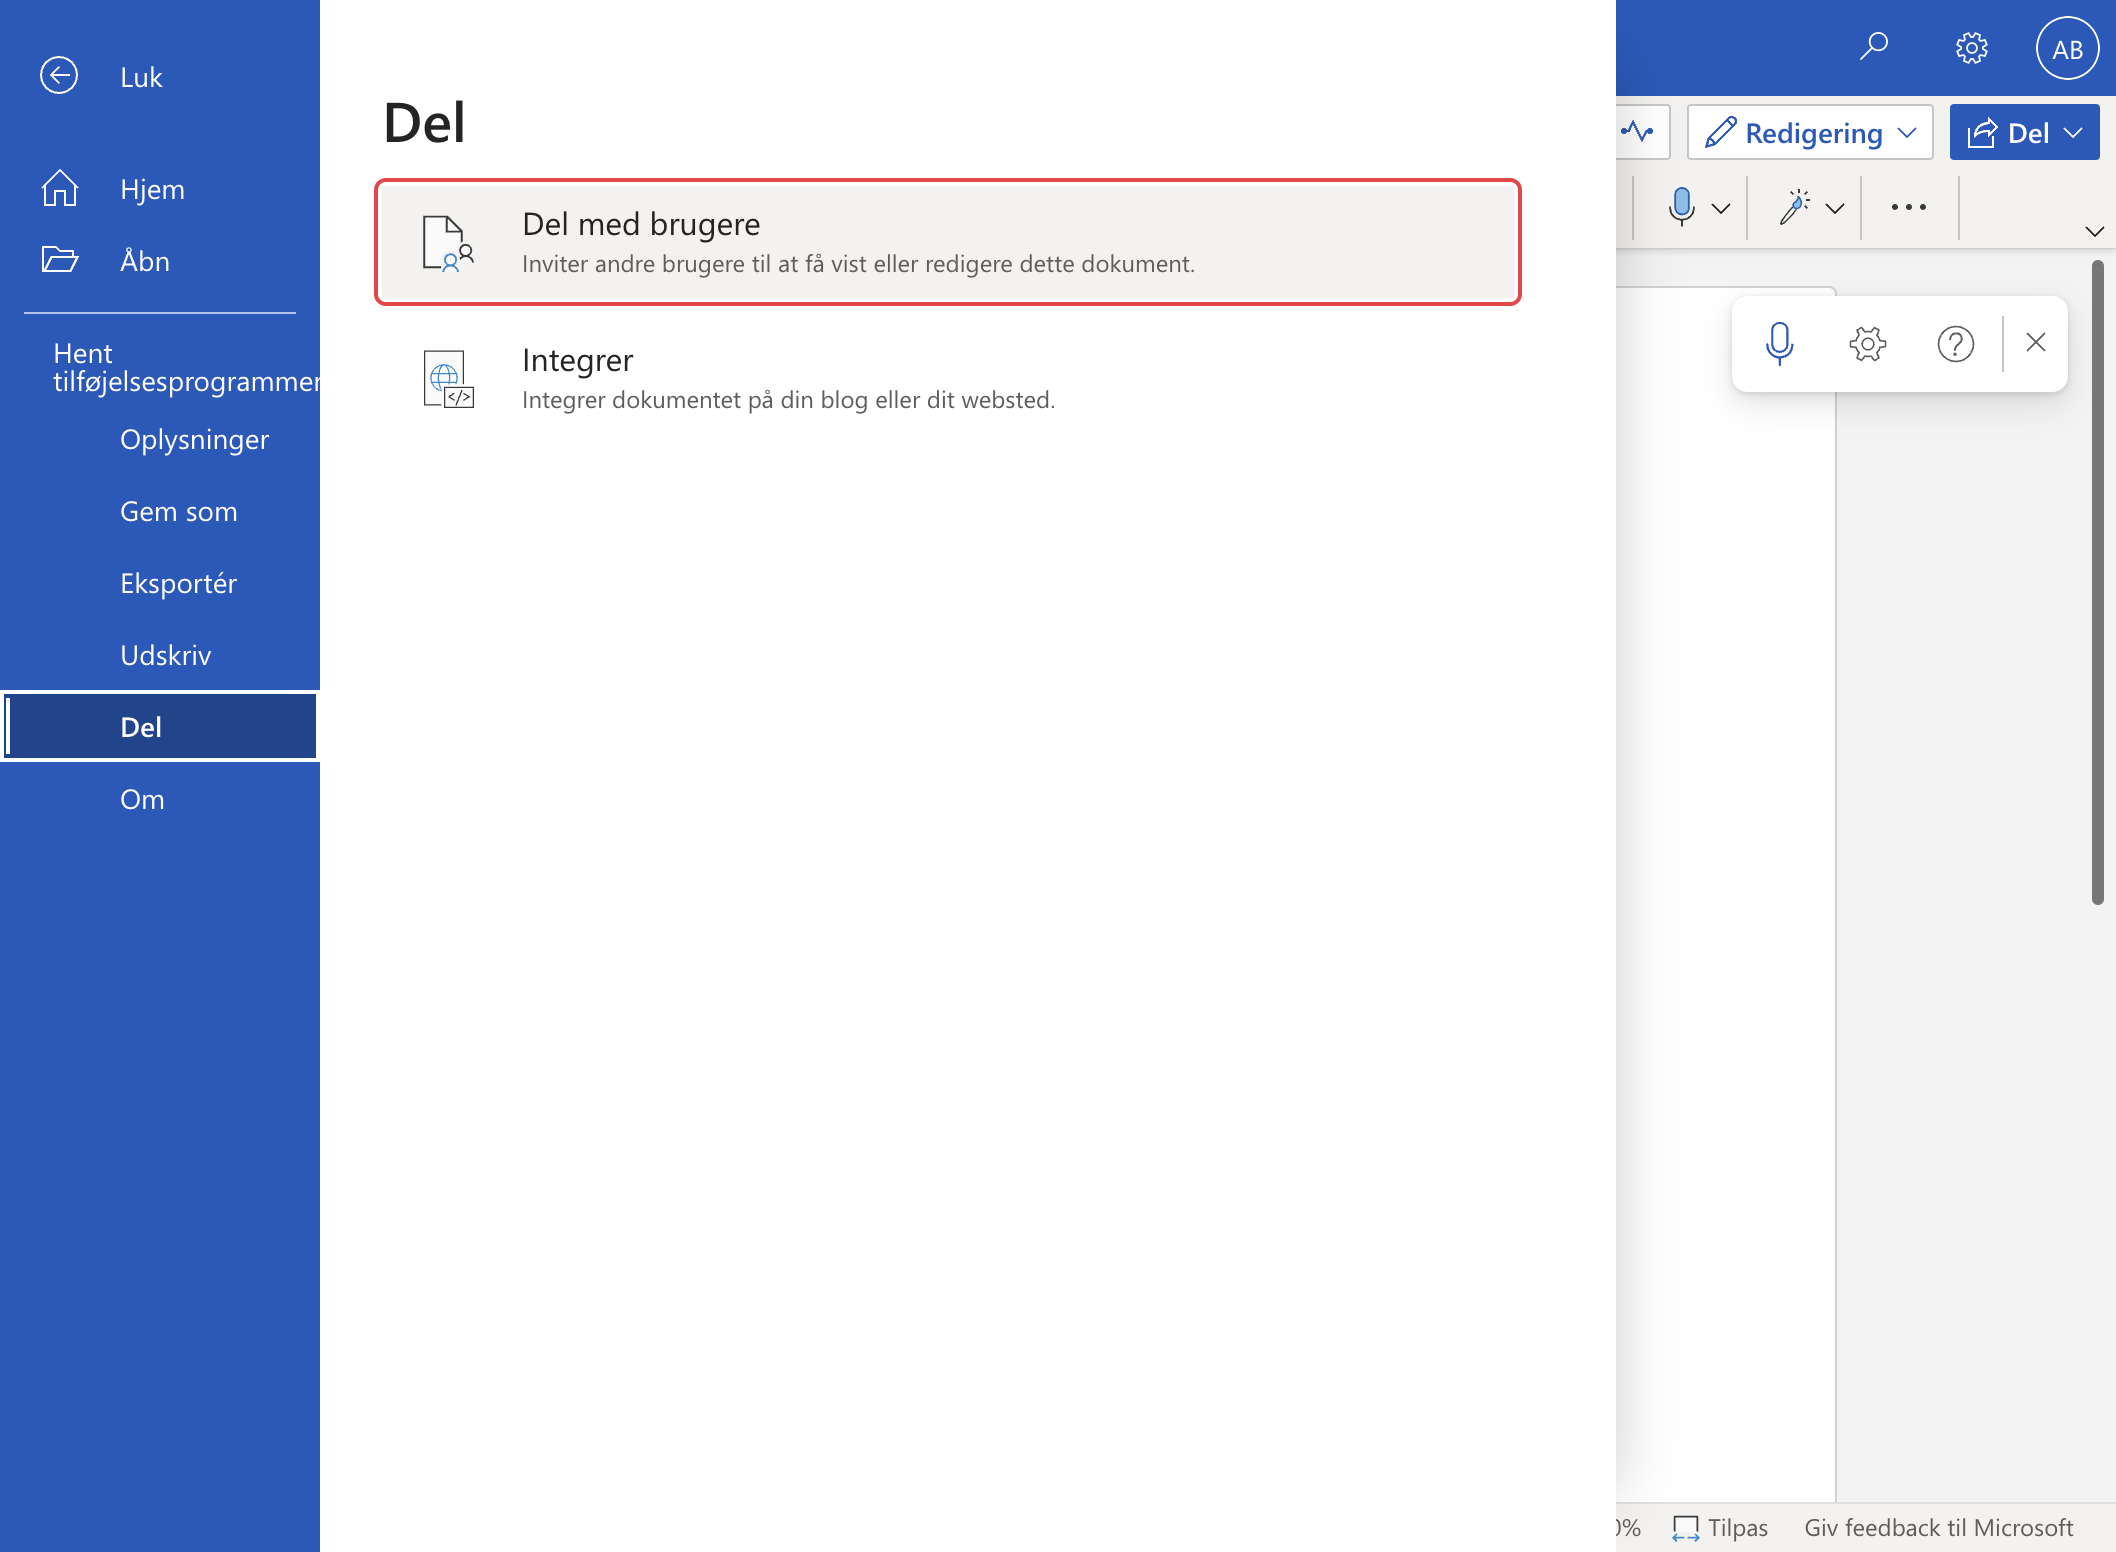
5. Click on "settings for shareing"
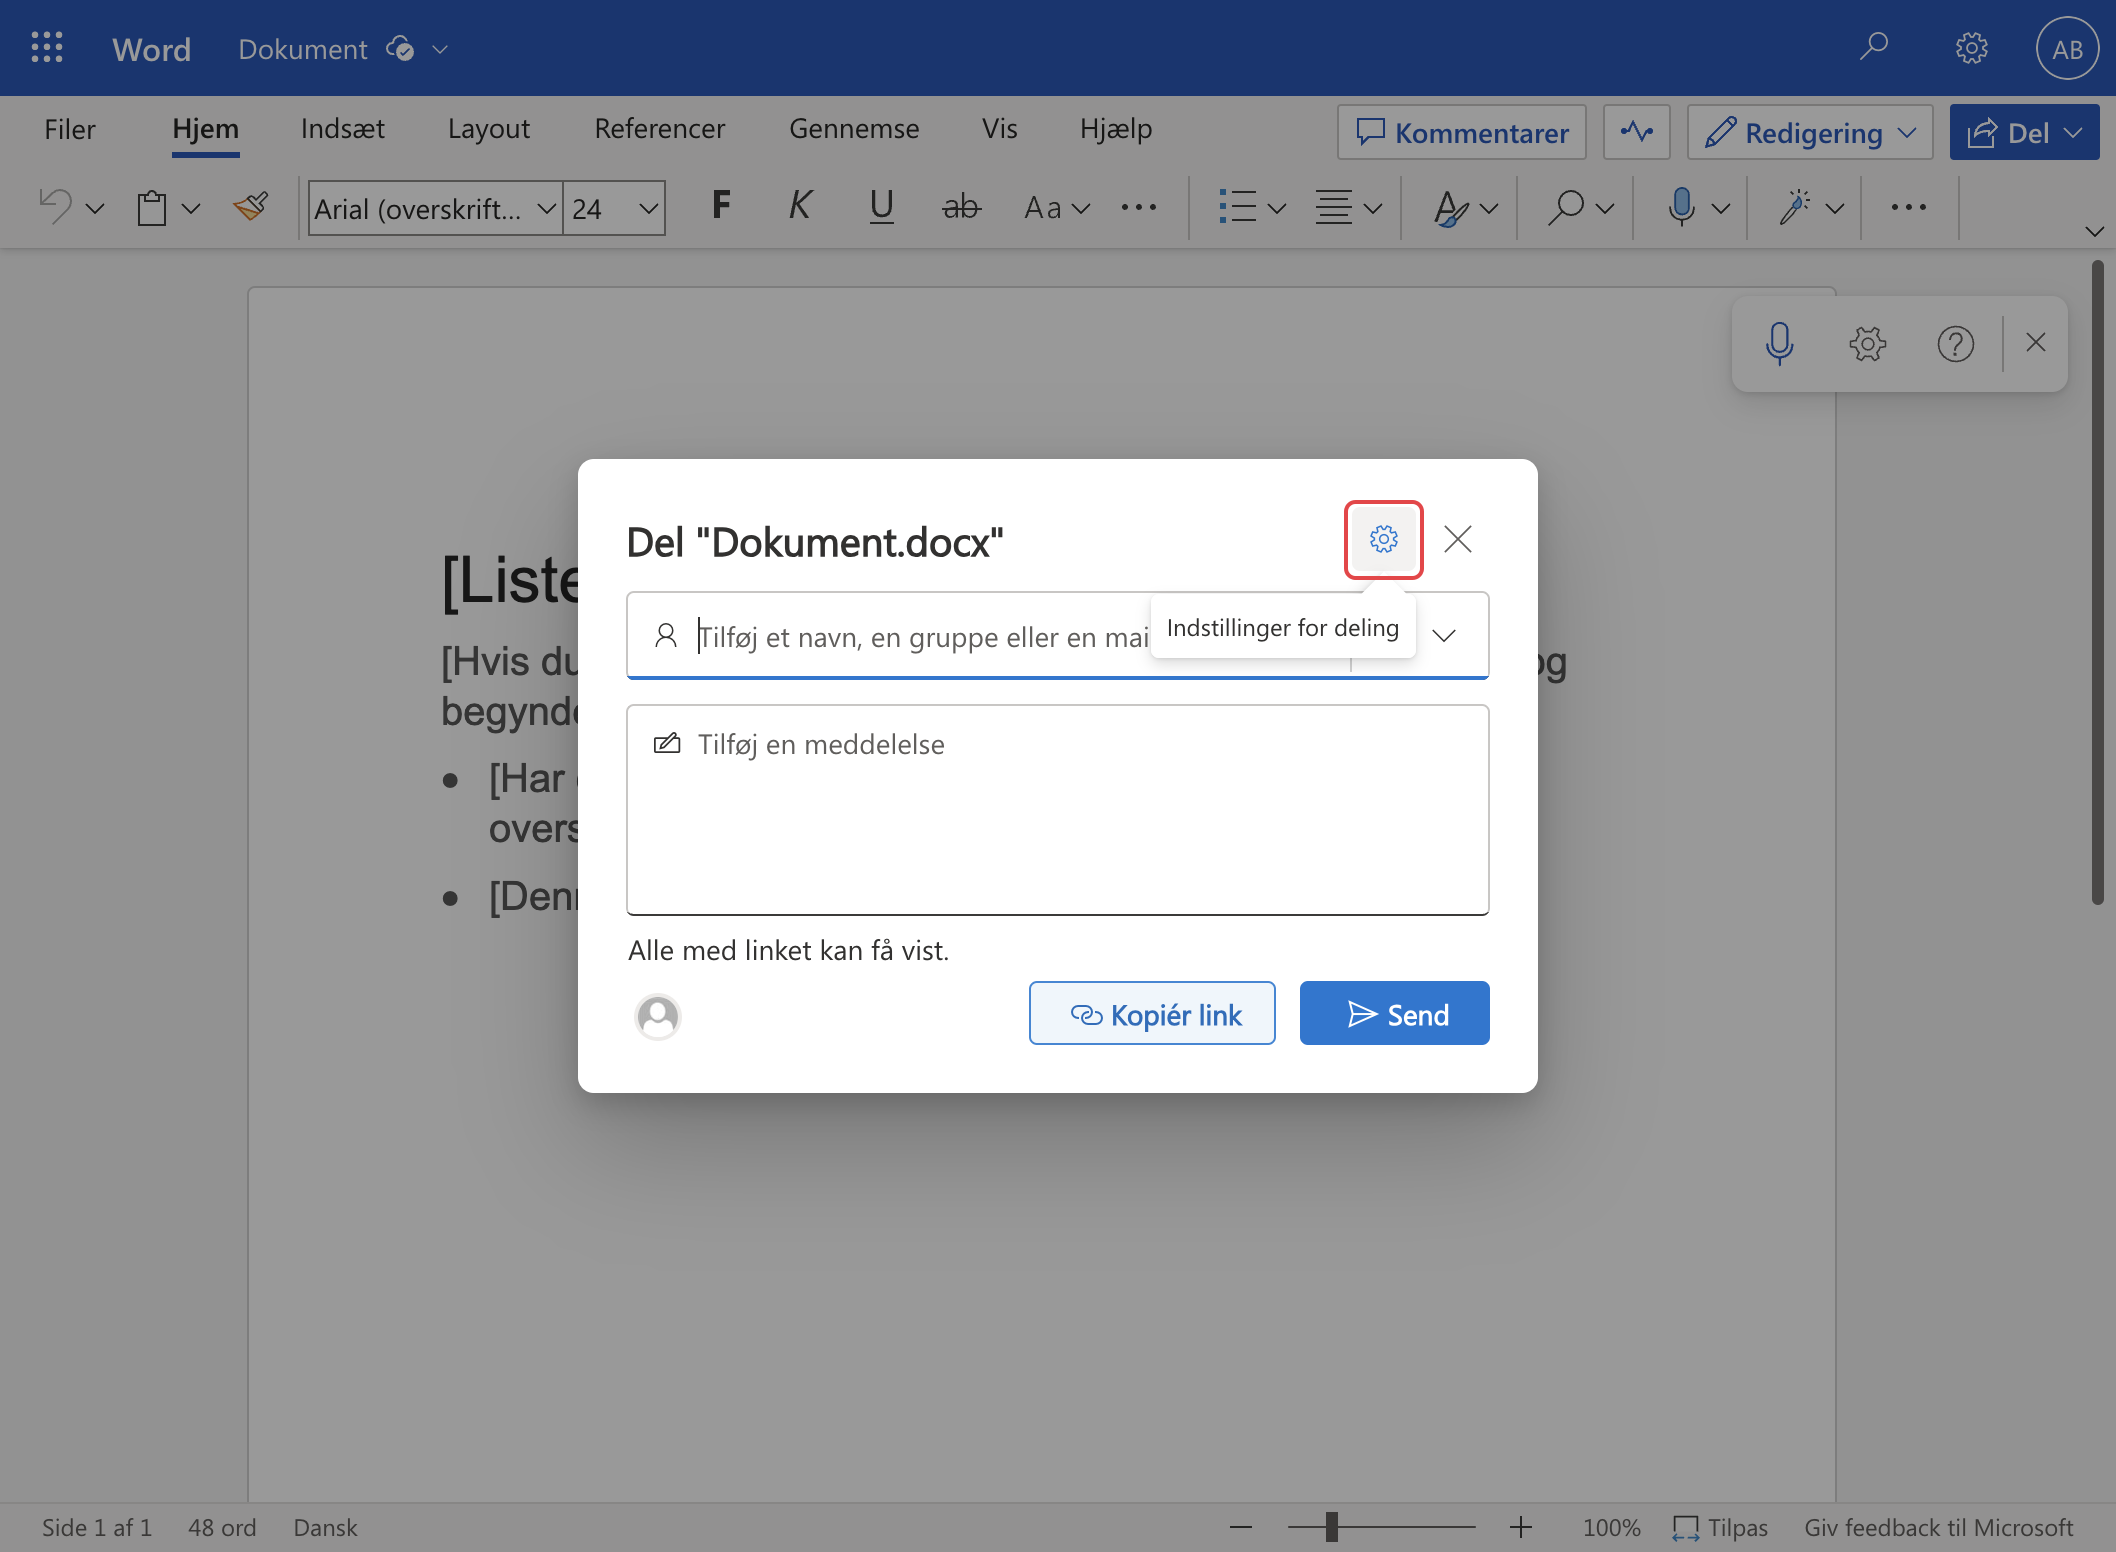
6. Then click on "Anyone"
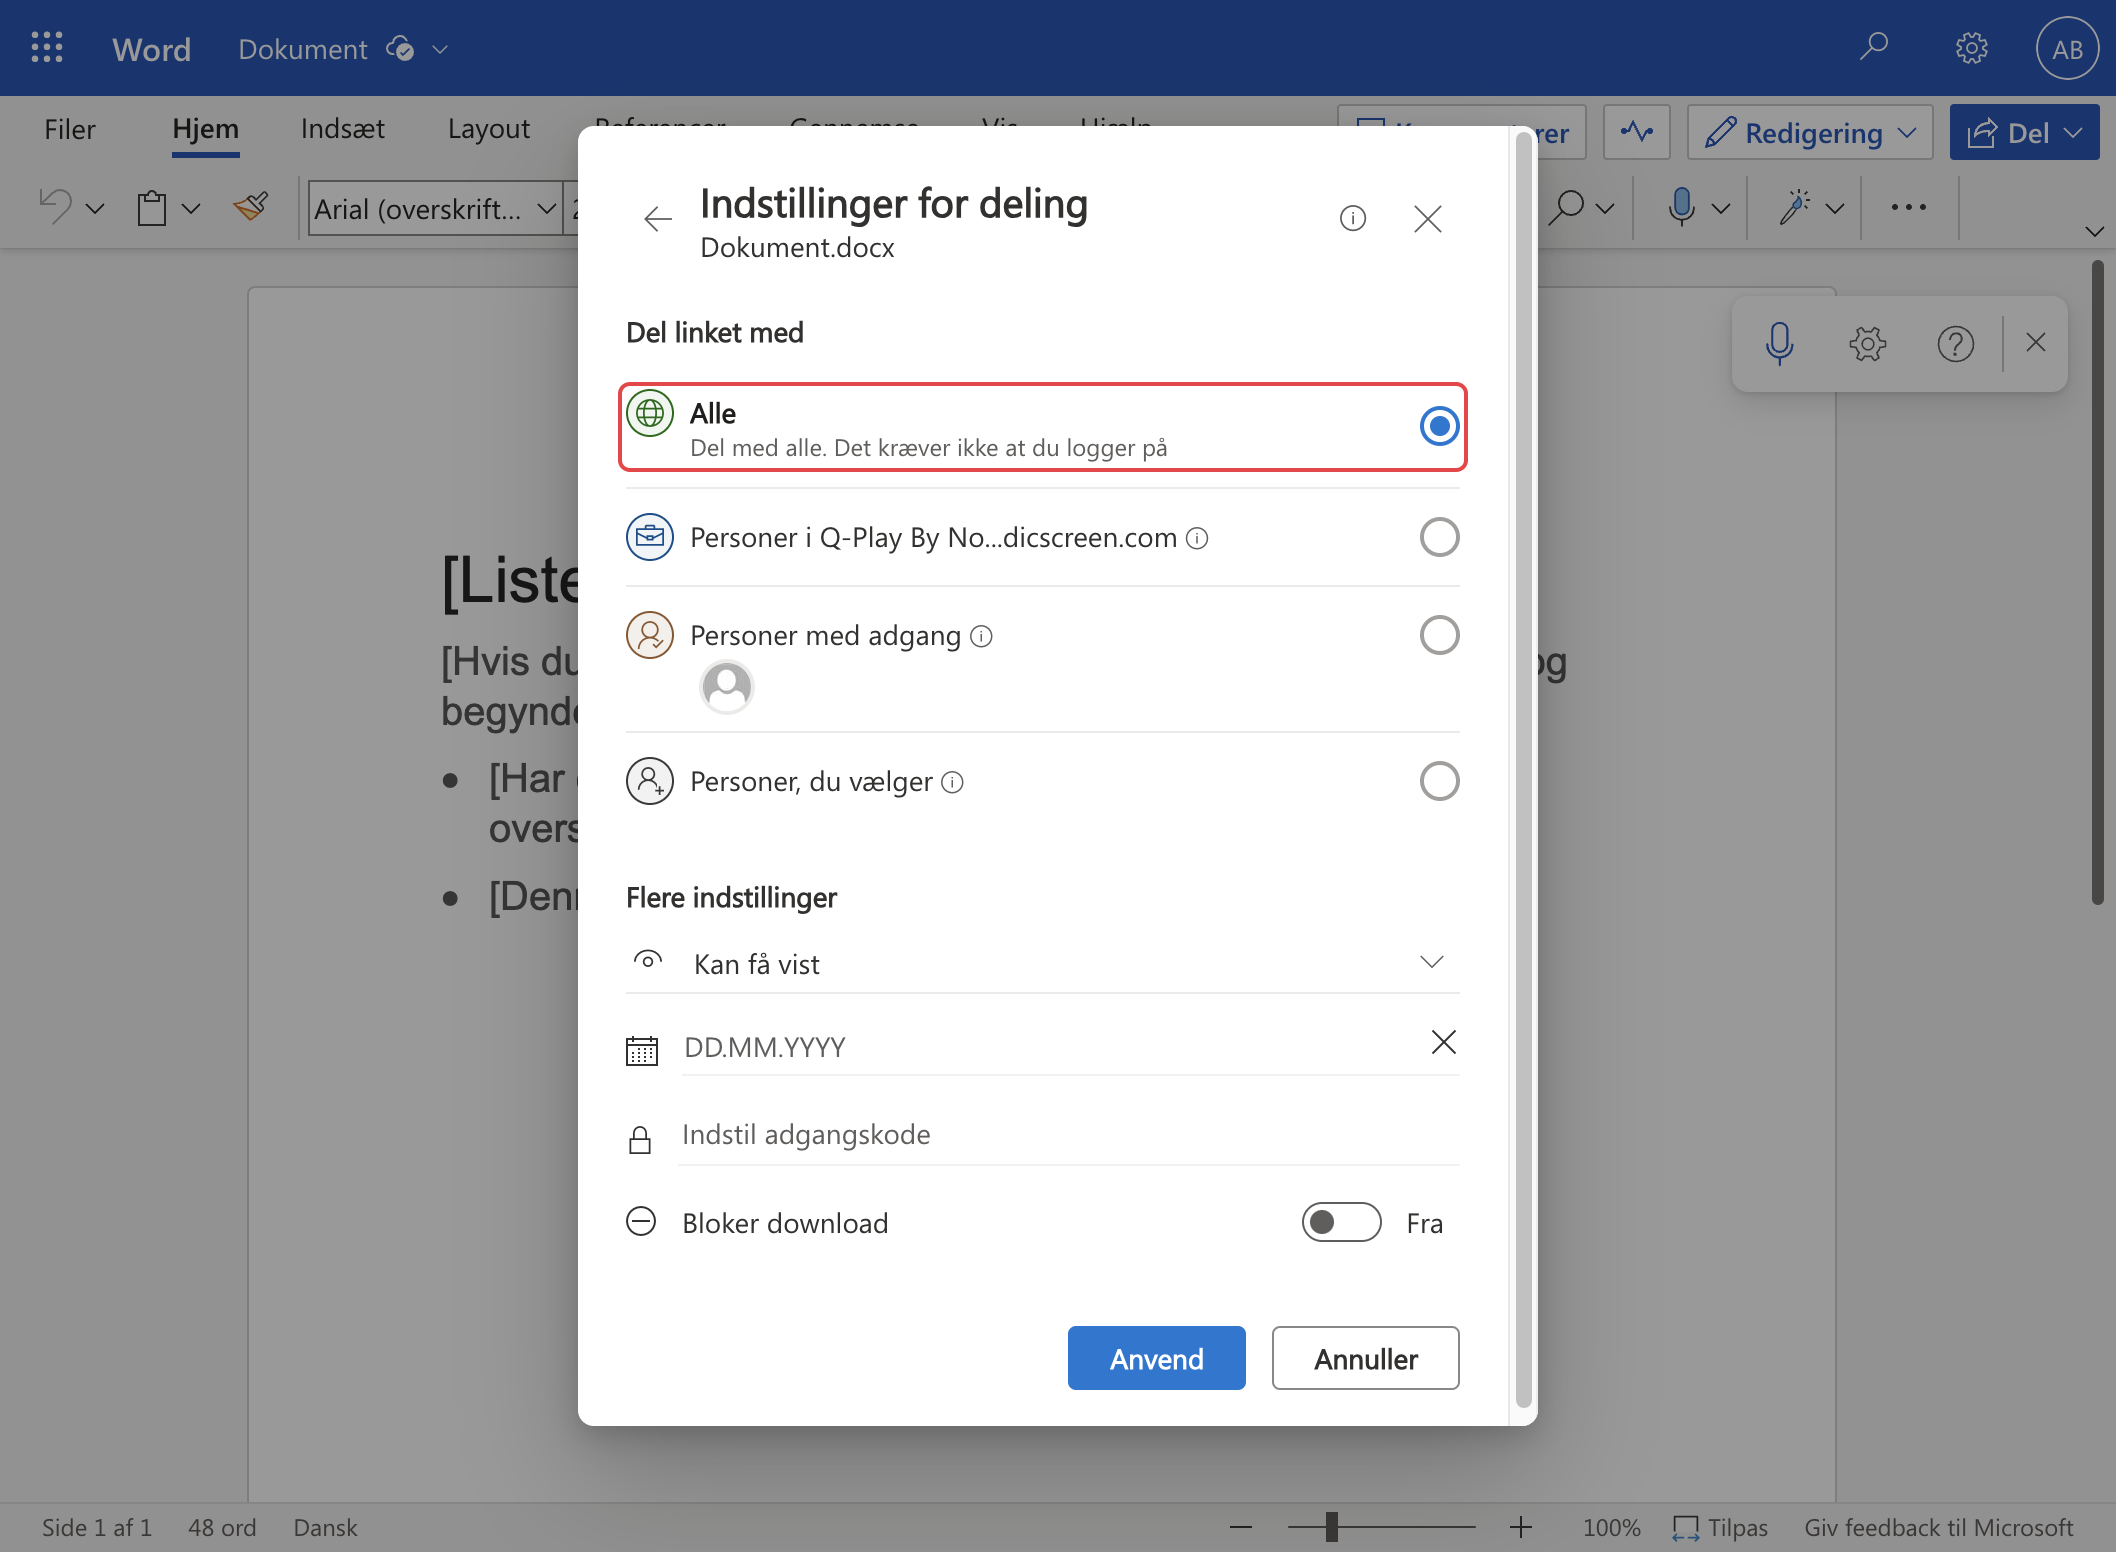
If you do not have the option to select "Anyone with the link", marked with the red box in the image below, then you can not use our OneDrive apps until your IT department has activated this feature.
Please note - Depending on your language settings, the names of the various functions may have a corresponding name in Danish or your chosen language.