Conventus
Configuration of Conventus import modul
Introduction
Setting up the Conventus module presupposes that there is a calendar in the booking system that is independent of other external sources.
Conventus ID
Setting up the Conventus module presupposes that there is a calendar in the booking system that is independent of other external sources.
1. Open Q-Cal.
2. Click on Main Menu and select Calender Integrations.
3. Click on the "+".
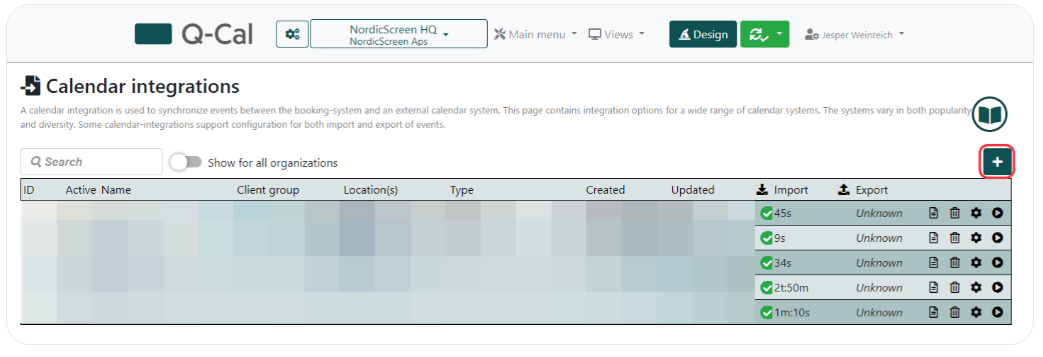
4. Select Conventus.
5. Under Conventus Push Module configuration, fill in your ID in the Conventus ID field
6. And then you activate the module by ticking "Activate Module" so the booking system is ready to receive data.
Confirm by clicking OK.
Then press Save in the upper right corner to make sure all data is saved.
Conventus
For synchronization to begin, Conventus needs to know where to send data.
Then press the copy button to copy the link. Then you go into http://web.conventus.dk/kontakt and use their web form to create a case, e.g. with the following wording:
You are now ready to synchronize
Once you have confirmed from Conventus's help desk that the solution has been set up, you can open the external source again, scroll down to the bottom of the page and press "Expose".
Then you're done.
Note that resources will be created automatically as soon as the appointments are sent to the booking system. Therefore, if all the resources need to be created, it is easiest to create a test appointment in each resource and then delete them a few hours later.