How to set up a new user in Q-Cal
To get access to Q-Cal you need to create a sign in for the user, in the system. The admin of the account, have access to do this.
2. Click on your name in the top right corner.
3. Hold the cursor over Admin, and then click on User profiles.
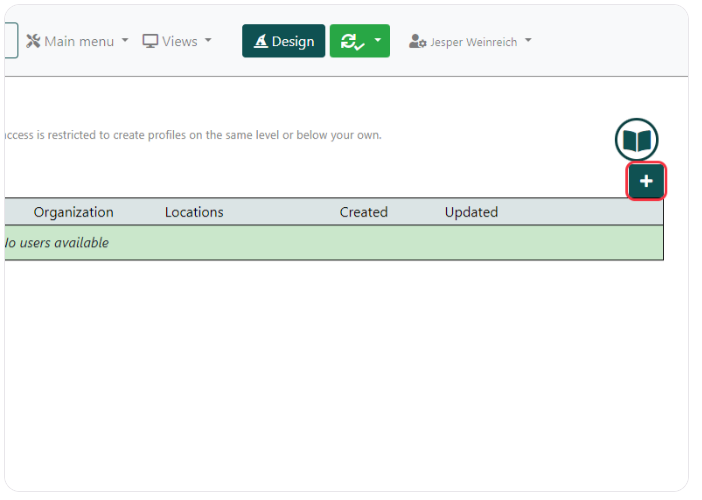
4. Press on the button with the Plus icon on the right side.
5. Enter the required informations (Minimum name and e-mail).
6. Be aware that Send Invite is turned on. This will send a e-mail to the user, where they can create a password.
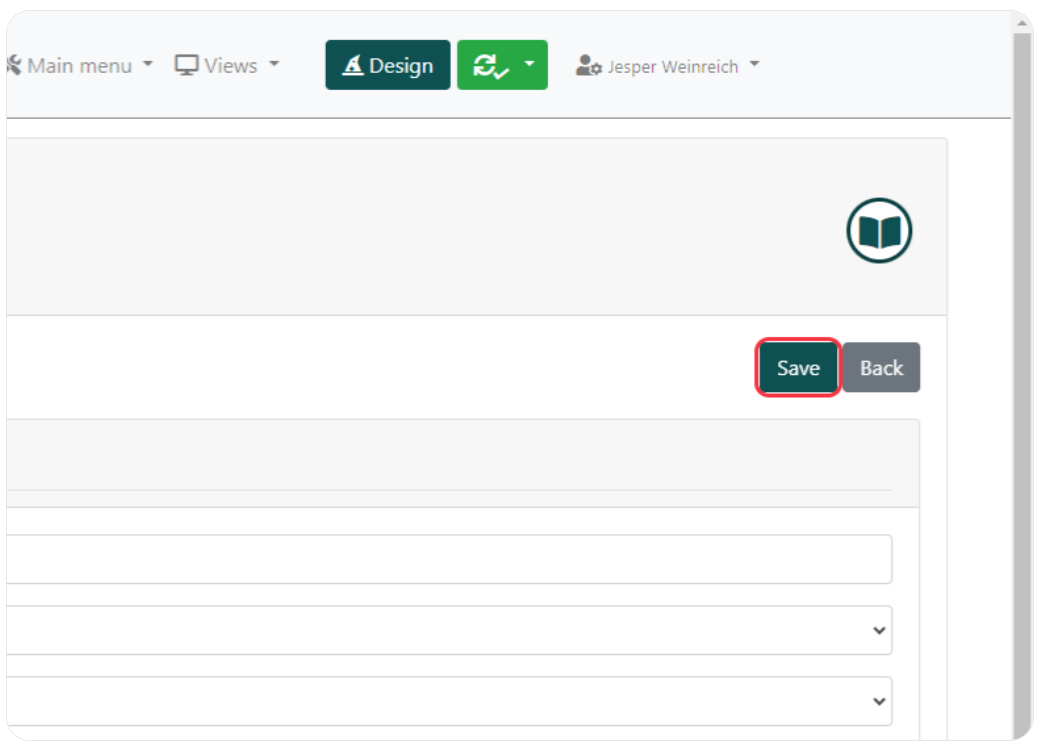
7. Now press Save
8. The user will now receive an email, where they need to pick a password trough a link. When this is done, the new user will be ready to use Q-Cal.