KultuNaut App
Introduction
This guide shows how to use KultuNaut with Q-Play. With KultuNaut, events in the municipality or the surrounding area can easily be displayed on Q-Play info screens. In Q-Play, views from KultuNaut can be combined with the many design options in Q-Play.
This guide is in 2 parts:
1. Set up the view in KultuNaut.
2. Insert the view into Q-Play.
1. Set up the view in KultuNaut.
To get access to the KultuNaut view for Q-Play, this view needs to be configured by KultuNaut. By contacting KultuNaut, it will be possible to get views configured for Q-Play Infoscreens.
1. Send a mail to KultuNaut with following info:
Subject: Views for NordicScreen Q-Play Infoscreens.
2. When the view is set up, KultuNaut vil send an URL, which will now be used in part 2.
It is important that view is configured as wished by KultuNaut. NordicScreen cannot change the configuration, colors, fonts or anything else.
If you want the page to scroll down, this must be set up by KultuNaut aswell
You can easily test if eveything is as you wish. This can be done by taking the link you recieved from KultuNaut, and opening it in your browser. If everything looks good there, it will be the same in Q-Play.
A view can look something like this:
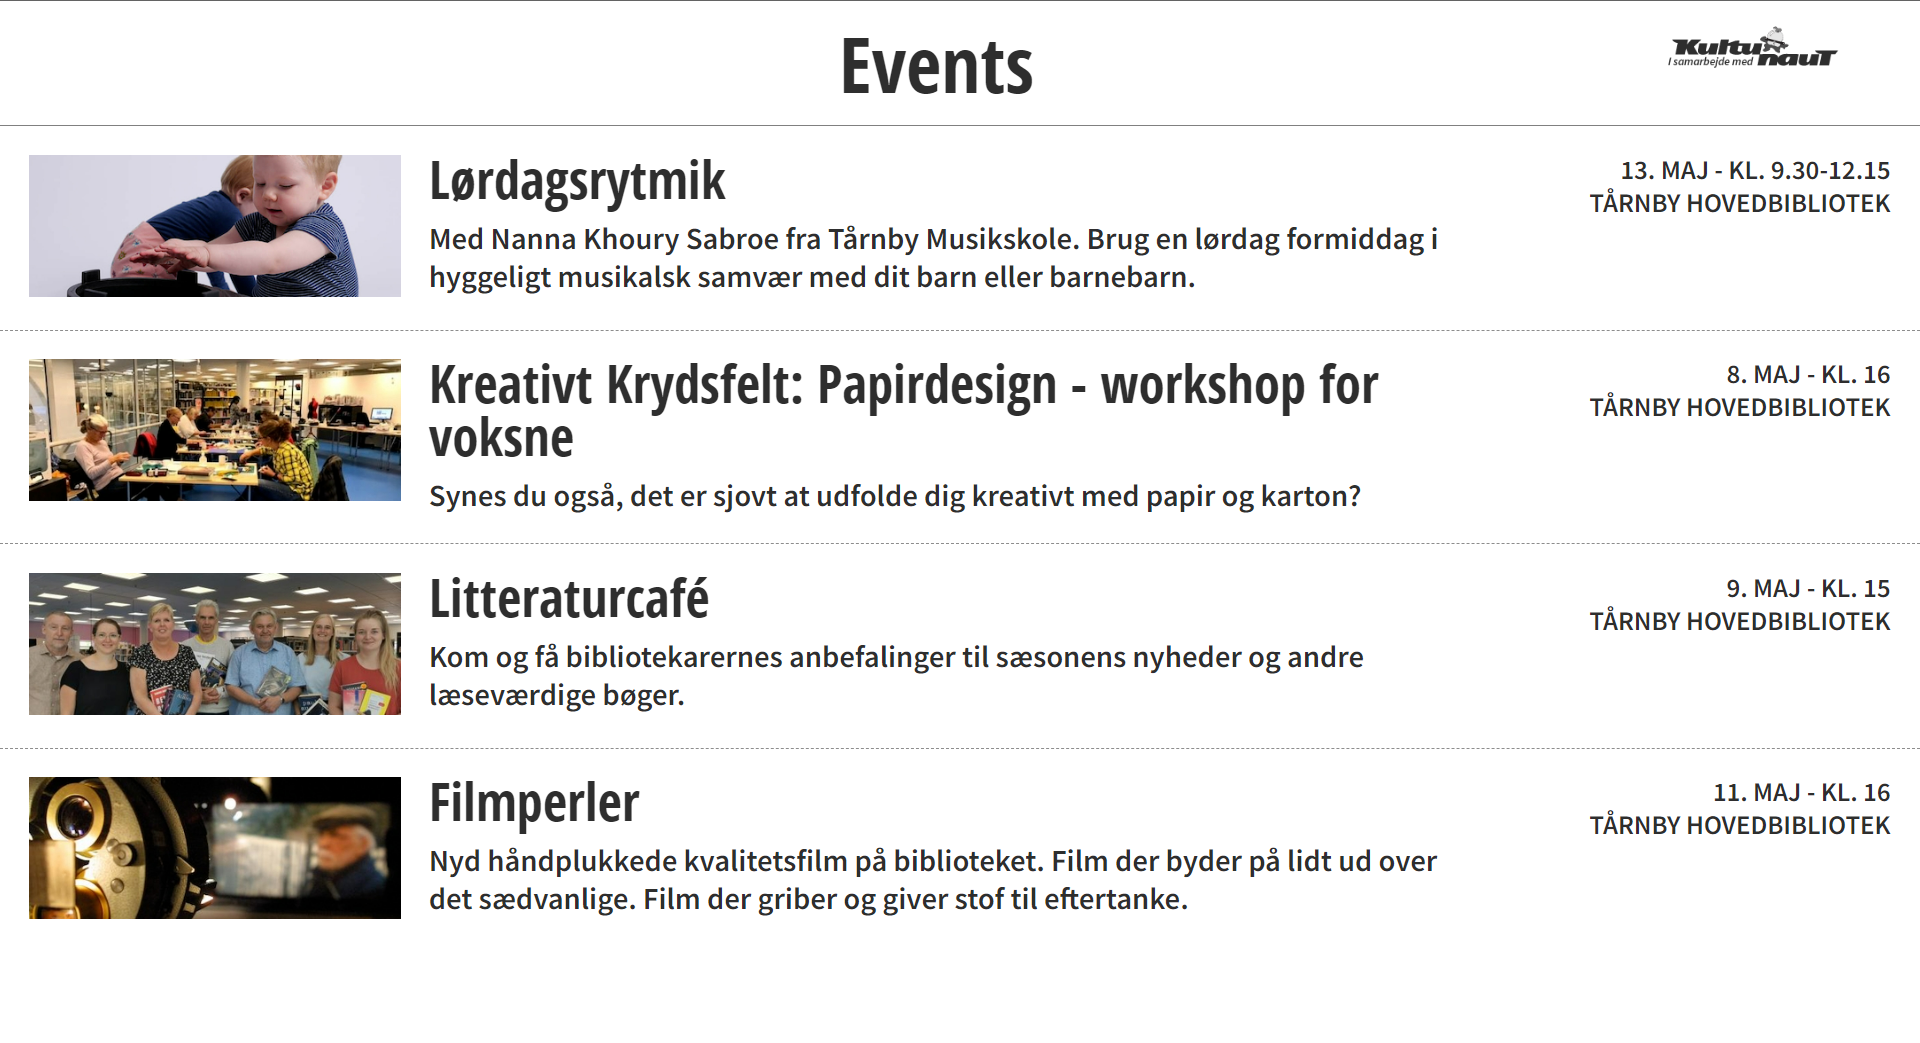
A view can look something like this:
2. Insert the view into Q-Play
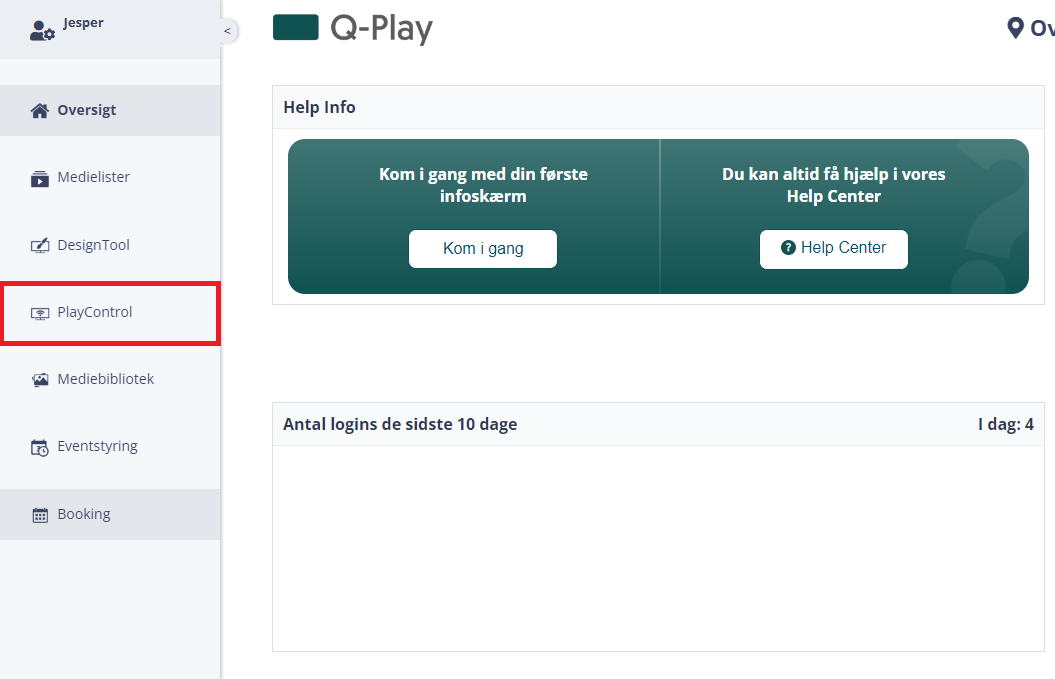
1. Head to DesignTool.
2. Select the series in which you want the KultuNaut view to be inserted into.
(Follow this link, to find out how to create a series.)
(Follow this link, to find out how to create a series.)
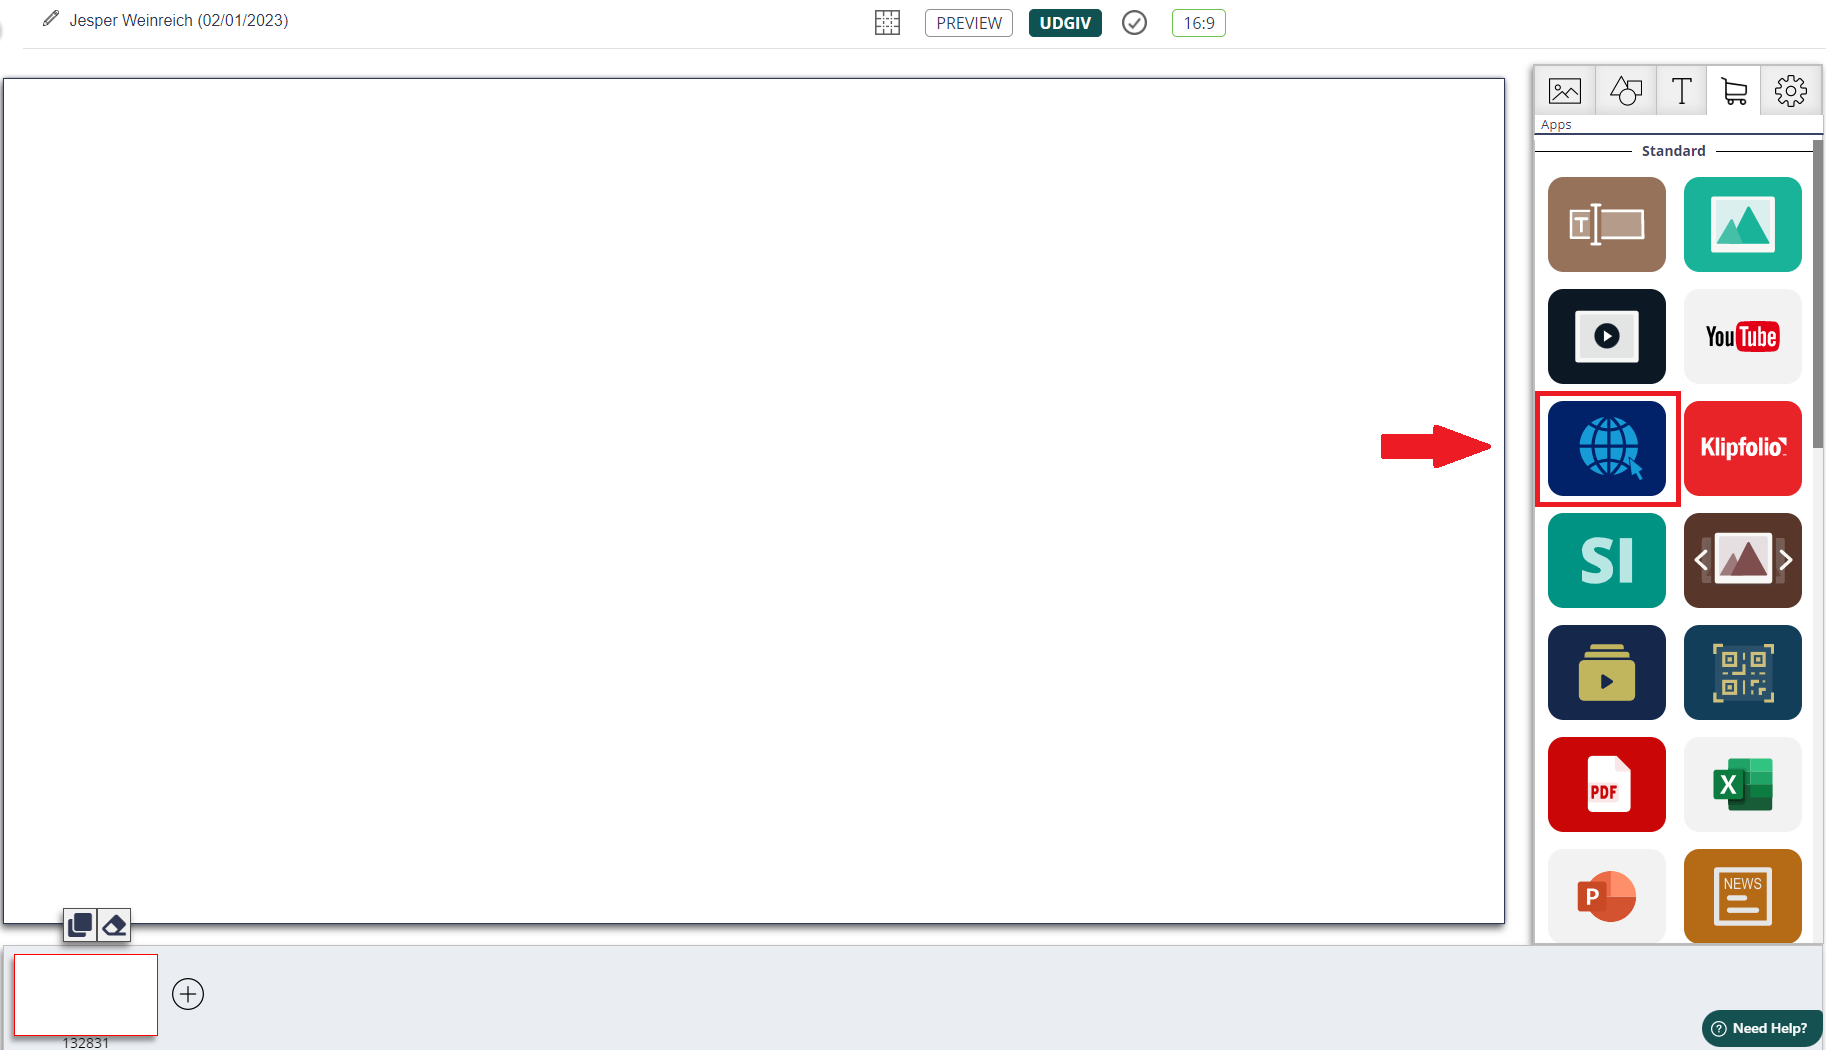
3. Now select the app called Webpage.
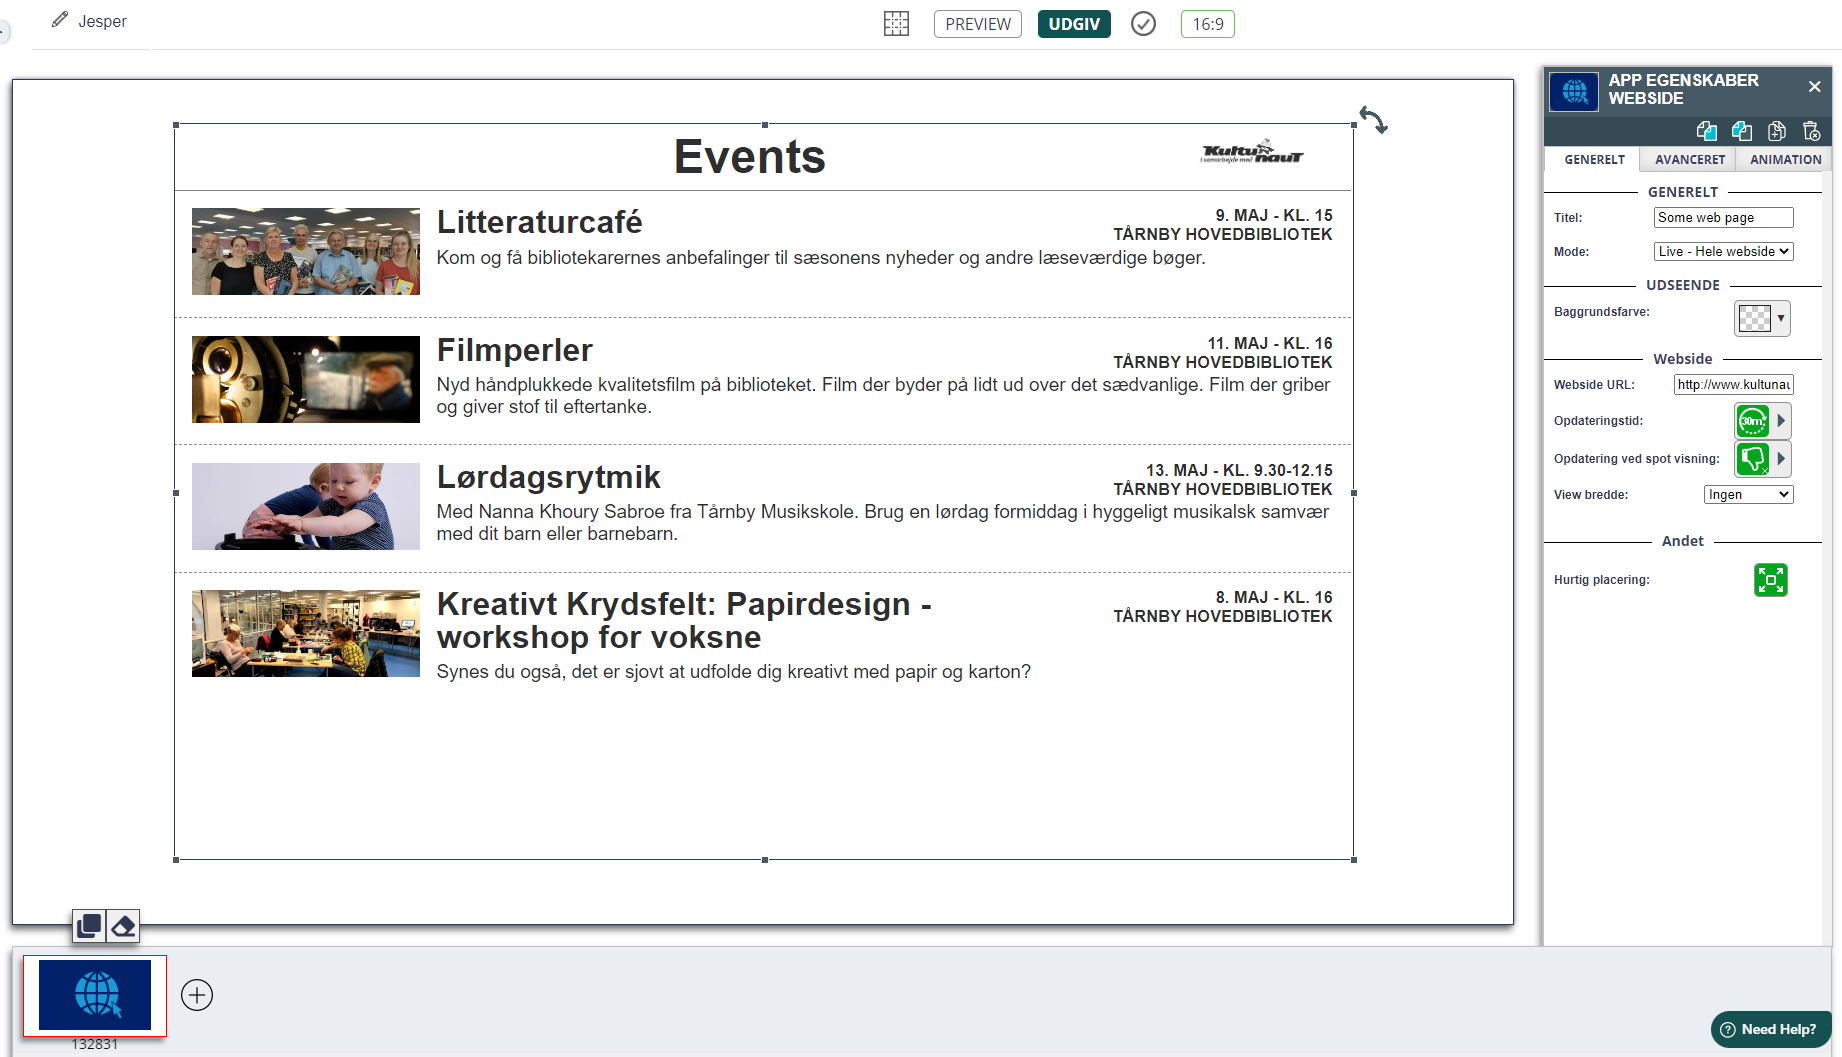
4. Click the app-element. On the right side you can now insert the link you recieved by KultuNaut, and set the app to update every 30 minutes.
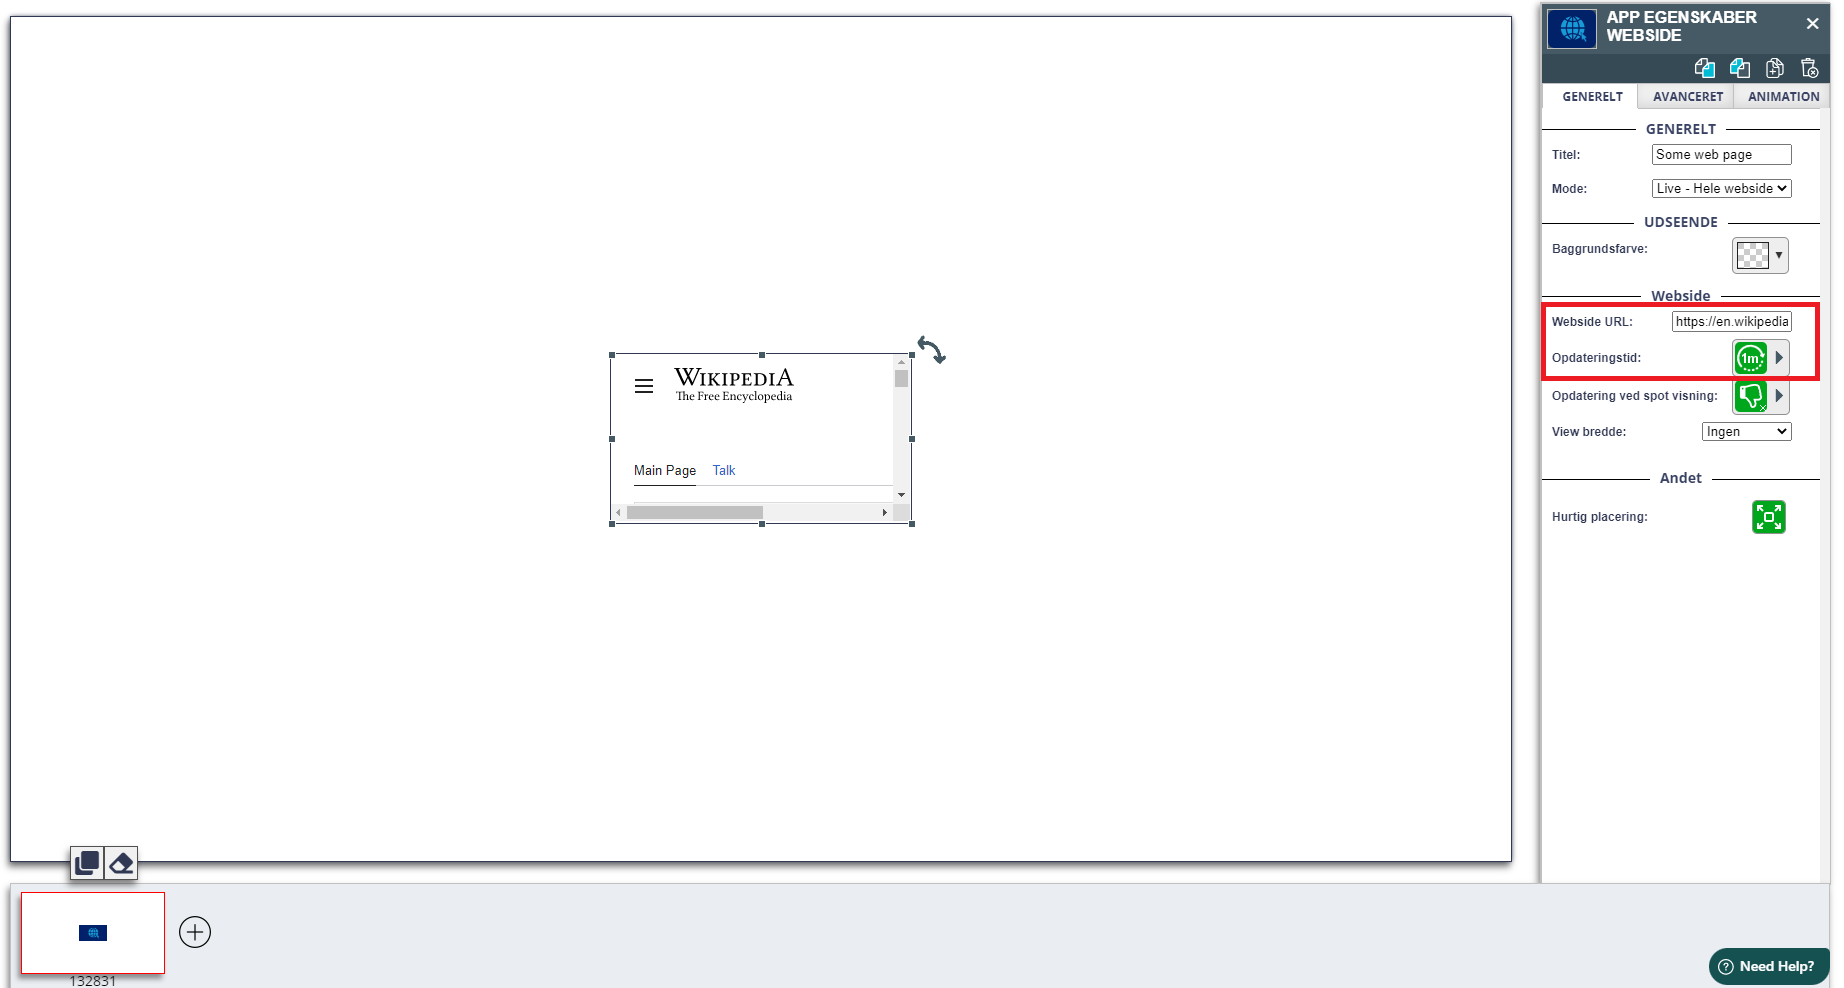
5. Edit the size of the app as wished. The KultuNaut view is now set up!
If you wish to use multiple views by KultuNaut, repeat part 1 and 2.
Related Articles
How to use the Image App
Find the Image App in the app menu below the cart icon. Click on the Image App to place it on your spot. By clicking on the image app, you can access the "App Properties" on the right side. Here, you can upload the image you desire and change the ...How to use the GolfMore App
This guide shows you how to get started using the Golf More app 1. Select the GolfMore app. 2. Click on the app to open app settings. Select a title for the app in the first field. 3. Enter the ID that belongs to your feed in the second field. ...How to use the News Vision App
NB. You need to purchase the News Vision App as an add-on. Find the News Vision App in the app menu below the cart icon. Click on the News Vision App to place it on your spot. Select the News Vision element to get the settings for the App in the ...How to use the Jobnet App
NB. You need to purchase the Jobnet App as an add-on. Find the Jobnet App in the app menu below the cart icon. Click on the Jobnet App to place it on your spot. Select the Jobnet element to get the settings for the App in the right side panel.How to use the Time&Date app
With the Time & Date app you can add a clock and date to your info screen. Find the Time & Date App in the app menu below the cart icon. Click on the Time & Date App to place it on your spot. Select the Time & Date element to get the settings for the ...